You step out of a hot shower, wipe the mirror with your palm, and tell yourself you’ll re-grout “at some point”. Showers are where most bathrooms take their daily beating - heat, steam, movement, shampoo, the lot - and that’s exactly why hidden water leaks often start there and stay invisible for months. By the time mould appears, the water has already done its quiet work behind tiles, under trays, and along the skirting.
The frustrating part is how ordinary it feels. A little dark patch in the corner. A musty smell that comes and goes. A door that sticks in damp weather. It’s easy to blame winter, poor ventilation, or “old houses being old”, right up until the plaster bubbles.
The leak that doesn’t drip - it wicks
A shower leak rarely announces itself with a puddle. More often, it seeps and spreads: water gets past a failed seal, then travels along the easiest route, soaking boards and plaster like a slow spill in a closed book.
The shower still works. The drain still takes the water away. Nothing looks dramatic. The only real clue is time - and the way small damage repeats itself no matter how many times you scrub.
Hidden water leaks around showers typically come from three places:
- The sealant line where the tray meets the wall (or bath meets tiles).
- Cracked grout or loose tiles that let water behind the surface.
- Plumbing joints behind the wall (especially on mixer showers), dripping only when the shower runs.
If you’re unlucky, two happen at once: a hairline grout gap plus a slightly loose waste connection, each one “too small” to notice on its own. Together, they keep the wall fed.
The moment mould shows up, you’re already late
Mould is not the first stage of the problem; it’s the first stage you can’t ignore. It tends to appear where moisture lingers: silicone edges, the bottom row of tiles, the ceiling line above the shower, or the outside face of a wall that backs onto a bedroom.
The signs people brush off are often the ones that matter most:
- A persistent musty smell even after cleaning.
- Silicone that looks intact but lifts at the edges when pressed.
- Grout that stays darker for hours after a shower.
- Paint that blisters, or wallpaper that loosens on the other side of the wall.
- Skirting boards that swell or feel soft at the bottom.
You can ventilate a bathroom perfectly and still have mould if water is feeding the substrate from behind. Airflow helps the surface; it can’t dry out what’s trapped inside a wall.
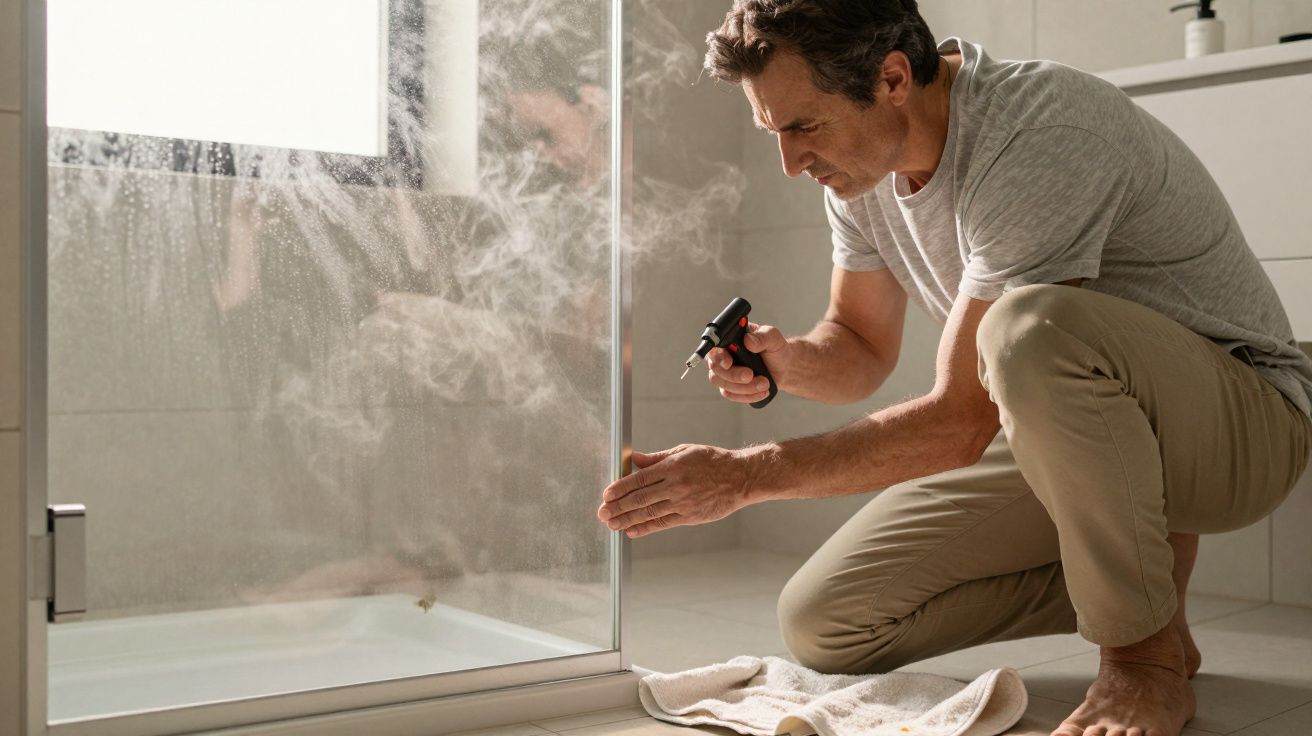
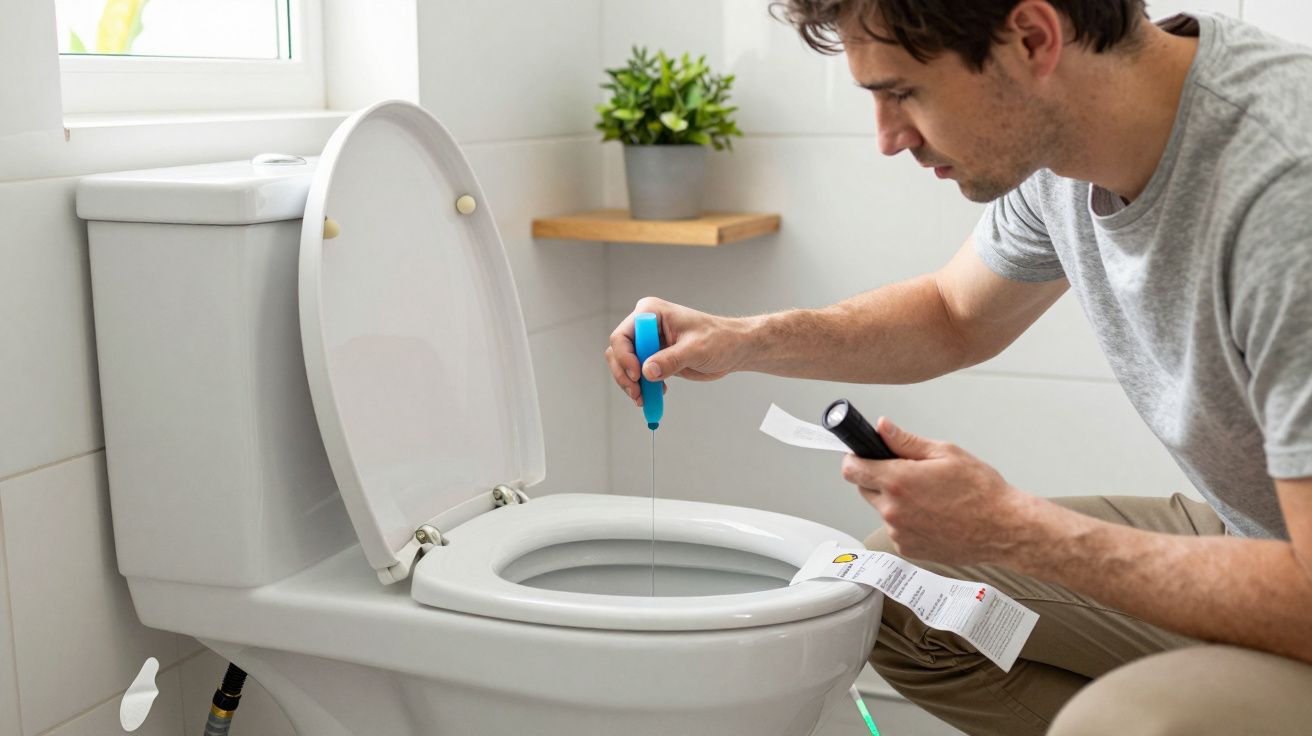
A five-minute check that catches most shower leaks
You don’t need specialist kit to do a first pass. You need a towel, a torch, and a slightly suspicious attitude.
- Dry everything. Wipe the tray edge, tile line, and around the waste so you’re starting from “known dry”.
- Run the shower normally for 3–5 minutes. Don’t aim the water only at the drain; let it hit the corners and the screen edge like it does every day.
- Check the outside. Look and feel along the tray perimeter, the bottom of the screen, and any adjoining wall on the other side (if accessible).
- Test the waste area. If there’s an access panel, use a torch and look for beads of water on joints. A drip can be so small it evaporates before it falls.
- Press the silicone gently. If it compresses, splits, or peels away, it’s not doing its job.
If the shower is over timber (common with raised trays or older suspended floors), take swelling seriously. Timber can hold moisture and rot quietly while the bathroom still looks “fine”.
Why re-sealing sometimes “works” - and sometimes traps the problem
People often re-silicone the tray edge and feel triumphant for a week. Then the mould returns. That doesn’t always mean the new sealant was bad; it can mean the real entry point is elsewhere, or that moisture is already sitting behind the tiles.
A useful rule of thumb: sealant is a barrier, not a repair for wet structure. If the backing is already saturated, sealing the front can reduce evaporation and keep the dampness in place.
Before re-sealing, it helps to:
- Remove old silicone fully (new silicone over old rarely bonds well).
- Let the area dry properly - sometimes that means a full day with heat and ventilation.
- Re-grout any missing sections rather than relying on silicone as a filler.
- Check for tile movement; if tiles flex, water will keep finding a path.
If there’s a leak behind a mixer or in the wall, surface work won’t touch it. The mould may improve temporarily simply because you cleaned it, not because you stopped the water.
What to do next: small moves, smarter decisions
If you suspect hidden water leaks from showers, the goal is not to panic and rip everything out. The goal is to stop feeding the damp and find the exact route.
Here’s a simple, realistic triage:
- If mould is only on silicone and returns fast: treat it as a sealing failure first, but inspect grout and tile edges closely.
- If there’s damp on the other side of a wall: assume water is getting behind the surface and prioritise investigation, not cosmetic fixes.
- If the leak appears only when the shower runs: suspect plumbing joints, the waste, or the shower valve.
- If the floor feels springy or swollen: stop using the shower until you know what’s wet underneath.
A plumber can pressure-test and check feeds; a good bathroom fitter or leak specialist can trace moisture paths. Either way, the earlier you confirm the source, the smaller the repair tends to be.
The expensive part isn’t usually the water. It’s the months of unnoticed soaking that turns a simple seal into damaged boards, plaster, and sometimes electrics.
The “don’t make it worse” list
- Don’t keep re-painting a stained ceiling without checking for moisture.
- Don’t run bleach blindly over porous grout; it can lighten the stain while leaving the damp.
- Don’t silicone over wet gaps and hope for the best.
- Don’t ignore a shower screen that’s pulling away from the wall; movement breaks seals.
When it’s more than a bathroom issue
A shower leak is often treated as a hygiene problem - mould equals cleaning - but it’s really a building fabric problem. Water spreads sideways, finds cold surfaces, and turns a small gap into a wider one by degrading adhesive, plaster, and timber.
If your bathroom backs onto a hallway, bedroom, or stairs, take a quick walk after a shower and look for subtle changes: a damp smell near sockets, a patch of wall that’s always colder, paint that looks “scuffed” even when it’s not. These are the quiet tells of water taking a route you didn’t plan.
FAQ:
- Can mould around the shower just be poor ventilation? Sometimes, yes - but if it returns quickly after cleaning, or the grout stays dark for hours, check for water getting behind tiles or under the tray.
- Is re-siliconing enough to fix a shower leak? It can be, if the leak is only at a failed seal and the area can dry fully first. If moisture is already behind the surface or a pipe joint is leaking, it won’t solve the cause.
- How do I tell if the leak is plumbing rather than tiles? Plumbing leaks often show when the shower runs (even if you don’t spray the walls). If you have access, look for damp joints or drips near the valve and waste.
- Should I stop using the shower if I suspect a leak? If you see swelling, softness in skirting/flooring, damp on the other side of a wall, or any electrical concern, stop and investigate. If it’s minor surface mould only, you can test carefully while you diagnose.
- What’s the quickest professional help to ask for? A leak detection specialist can trace moisture paths; a plumber can check feeds and joints. The right choice depends on whether the signs point to plumbing or water ingress behind finishes.


Comments (0)
No comments yet. Be the first to comment!
Leave a Comment