
Pipe joints and seals sit quietly behind plasterboard, under floorboards and inside boxing-in, doing the unglamorous job of keeping water where it belongs. When they start to fail, the first clue is often damp patches that seem to appear for no good reason, usually on a wall you never expected to be “wet” at all. It matters because what looks like a cosmetic stain can be a slow leak that’s been feeding timber, insulation and mould for weeks.
Most people do the sensible thing at first: they blame rain, condensation, even “that old house smell”. They wipe the mark, crack a window, maybe run a dehumidifier for a few nights. Then the stain blooms again, a little darker, a little wider, and suddenly it feels personal.
The weird part is how often the culprit isn’t the obvious pipe. It’s the hidden joint you didn’t even know existed - a coupler behind a kitchen unit, a compression nut under a bath, a seal at the back of a shower valve - leaking so slowly it only shows itself as a tide mark on the other side of a wall.
The moment you realise it’s not “just a bit of damp”
A classic scene: you’re in the hallway and you catch a faint tea-coloured shadow spreading above the skirting. It isn’t dripping, it isn’t cold enough for condensation, and it doesn’t match the weather outside. You press it with your thumb and it feels slightly soft, like the wall has been holding its breath.
Then you start doing the little detective moves without realising. You sniff. You look up for a roof leak. You check the radiator pipe. You tell yourself you’ll “keep an eye on it”, because that’s what we do when we don’t want a problem to become a project.
But water is patient. A joint that weeps only when someone runs a tap or flushes a loo can paint a wall in instalments, leaving you with a stain that comes and goes like a bad mood.
Why a tiny leak makes such a big mark
Water stains often look dramatic because the wall is acting like a wick. A few drops escaping from a joint can travel along timber, plaster or the paper face of plasterboard, spreading sideways before it ever shows itself.
That’s why the stain rarely sits neatly “under the leak”. It can appear:
- one room away from the source, following joists
- lower down than you expect, pooling at the weakest point
- on an external wall, even though the water is from internal plumbing
- as a faint ring that darkens after the plumbing has been used
And because it’s intermittent, it messes with your logic. You can have a leak for months that only shows up after a bath, or when the washing machine drains, or when the heating kicks in and a joint expands.
The hidden joint that causes most of the confusion
There are a few repeat offenders, and they share one trait: they’re buried behind “finished” surfaces, so you don’t get the courtesy of a visible drip.
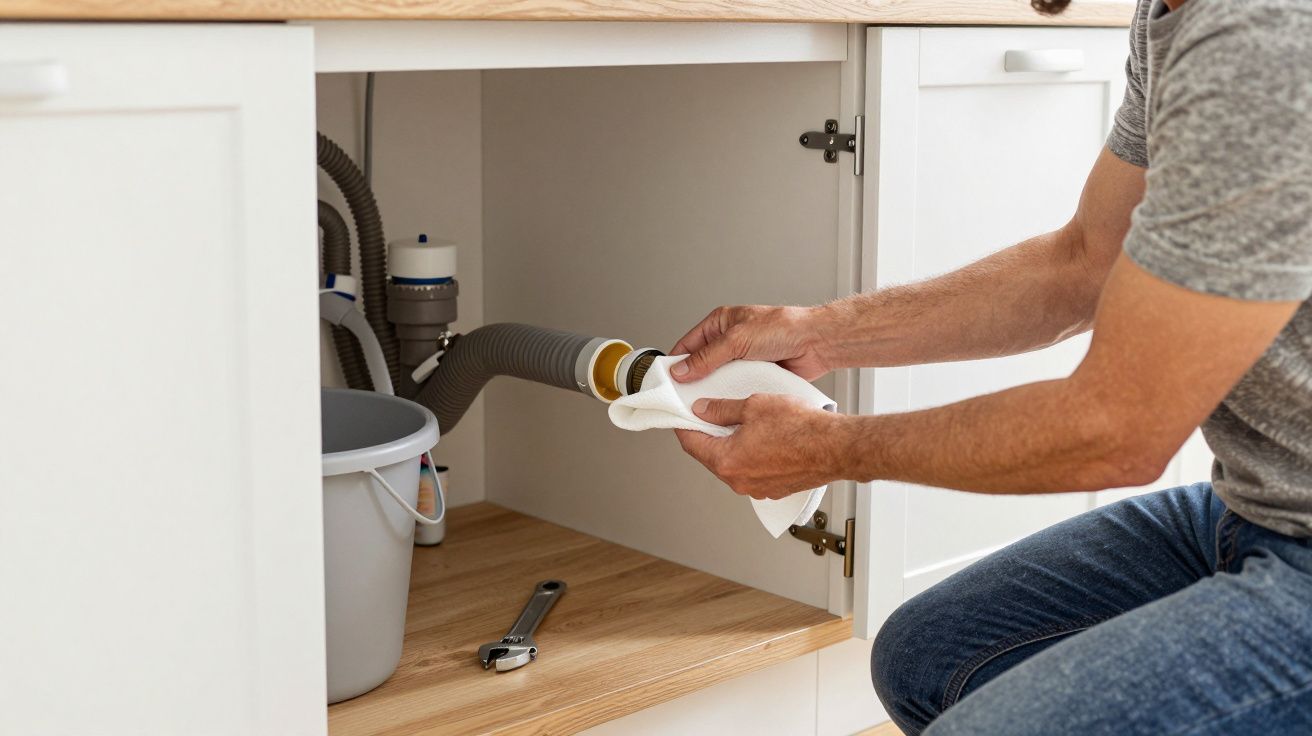
1) Compression joints that have loosened over time
Compression fittings (common under sinks and on radiator tails) rely on a nut squeezing an olive onto the pipe. Tiny movement, vibration, or thermal expansion can reduce that squeeze. You end up with a slow weep that only appears under pressure.
2) Push-fit joints that weren’t fully seated
Push-fit is brilliant when installed correctly. But if the pipe wasn’t cut square, wasn’t fully inserted, or the insert wasn’t used where required, the seal can hold… until it doesn’t. The leak can be so small it evaporates in warm voids, leaving only staining as evidence.
3) Shower and bath waste seals
A perished washer on a bath waste, or a slightly distorted seal on a shower trap, is a quiet menace. It tends to leak only when water is actively flowing, which is why the stain often appears on the ceiling below the bathroom, not in the bathroom itself.
4) Valve bodies and concealed mixer seals
That “modern” shower with everything hidden in the wall looks clean until an O-ring fails. Then the water has nowhere to go except into the cavity, where it can travel and show up as a stain metres away.
A simple way to narrow it down without ripping the house apart
You’re not trying to become a plumber. You’re trying to work out whether you’re dealing with rain, condensation, or a plumbing leak - and if it’s plumbing, roughly which bit.
Do a usage test (it’s surprisingly telling)
- Mark the edge of the stain lightly with pencil and note the date/time.
- Dry the area as best you can (gentle heat and ventilation, not aggressive fans blasting wet plaster).
- Run one water source at a time for 5–10 minutes: cold tap, hot tap, toilet flush, shower, washing machine drain cycle.
- Wait and watch: some stains darken 10–30 minutes after the test as water migrates through materials.
If the damp patches worsen after a specific use (say, showering), you’ve just saved yourself hours of guesswork.
Look for “supporting clues” in the room next door
- A musty smell concentrated near boxing-in or a vanity unit
- Swollen skirting, bubbling paint, or peeling wallpaper seams
- A floorboard that feels slightly springy near a bathroom or kitchen
- A stain that gets darker when heating is on (pipes expand, joints move)
None of these prove the exact joint, but together they point strongly to plumbing rather than weather.
What to do next (and what not to do)
If you suspect a leak at pipe joints and seals, speed matters, but panic doesn’t help.
Do:
- Turn off the water at the stopcock if the stain is actively spreading or the wall feels wet.
- Take photos now, and again after tests, so you can see change over time.
- If accessible (under sink, behind an access panel), feel around fittings with dry tissue to detect a slow weep.
- Get an access panel fitted after repair if the joint is in a “known trouble” area (bath, shower valve, washing machine).
Don’t:
- Keep repainting the stain and calling it “sorted”. Paint is a lid, not a cure.
- Assume it’s condensation just because it’s winter. Condensation rarely makes a single localised tide mark that grows.
- Overtighten compression nuts blindly. You can split a fitting or deform the olive and make the leak worse.
If the joint is concealed and you can’t safely reach it, that’s the point to call a plumber. A decent one won’t guess; they’ll isolate, test, and open up only what’s necessary.
Why it’s worth finding the joint, not just treating the wall
The wall is the messenger. The real damage happens in the dark: wet insulation that never dries, timber that stays damp enough to rot, and mould that gets comfortable behind the surface while you’re busy wiping the visible mark.
Fix the water source first, then let the structure dry properly, then redecorate. Doing it in the opposite order is how people end up paying twice - once for paint, and once for the repair they delayed.
| Sign | Likely source | What to check first |
|---|---|---|
| Stain worsens after shower/bath | Waste or concealed valve seal | Trap, waste connection, access panel area |
| Mark darkens after toilet flush | Supply pipe or cistern valve joint | Isolation valve, flexi hose, fill valve |
| Patch grows after heating turns on | Heating pipe joint | Radiator valves, visible tails, nearby boxing-in |
FAQ:
- How can I tell if a stain is from a plumbing leak or rain? If it changes after using taps, shower, toilet, or heating, it’s more likely plumbing. Rain-related marks often correlate with storms and appear on external walls or near chimneys/roof lines.
- Can a very slow leak really cause a big patch? Yes. Materials like plasterboard and timber wick water sideways. A tiny weep from a joint can spread widely before it shows.
- Is it safe to keep using the shower if the ceiling below has a damp patch? It’s best to stop until you’ve identified the cause. Continued use can saturate ceilings, risk collapse in extreme cases, and accelerate mould growth.
- Should I use a dehumidifier to “fix” it? Use it to help drying after the leak is repaired, not as a substitute for repair. Drying the symptom while the joint still leaks just hides the problem.
- Do I always need to open the wall? Not always. Many leaks can be confirmed via usage tests and accessed through existing panels or fittings. But concealed joints sometimes require targeted opening to repair properly.


Comments (1)
ICDlHtaBCCPwLViabwztWgV
Leave a Comment