You don’t see them at first. Showers look sealed, glossy, finished - and that’s exactly why hidden water leaks can sit behind perfect tiles for months, quietly chewing through plasterboard, joists and patience. By the time the first sign shows up (a musty smell, a loose tile, a stain on the ceiling below), the easy fix window has usually gone.
It’s not dramatic like a burst pipe. It’s slower, more boring, and somehow more expensive because of it. Water doesn’t need a gap you can spot; it only needs a path it can repeat.
The problem with “it looks fine”
Bathrooms are built to look calm. Straight grout lines, clean silicone, a drain that swallows everything without complaint. When something’s wrong behind that, the front-facing neatness doesn’t just hide the issue - it delays your reaction to it.
A shower can leak in ways that don’t announce themselves loudly. A hairline crack in grout. A pinhole in a seal. A tiny movement where the tray meets the wall. Each one is small enough to ignore on Tuesday, and big enough to cost you in six months.
The cruel bit is that water damage doesn’t scale politely. It compounds. The longer it runs, the more it spreads sideways into places you didn’t even know were connected.
Where shower leaks actually come from (it’s not always the pipe)
People hear “leak” and imagine plumbing. Sometimes it is. Often it isn’t. Many shower leaks are failures of the waterproof envelope - the parts that stop water getting to the plumbing and structure in the first place.
Common culprits include:
- Silicone at junctions: especially where the tray meets the wall and in corners. It shrinks, splits, or lifts slightly.
- Grout and tile cracks: grout isn’t waterproof; it’s cosmetic and supportive. Cracks become repeat entry points.
- Failed tanking (waterproof membrane): if it wasn’t installed, was punctured, or was done badly, tiles alone won’t save you.
- Shower tray movement: a tray that flexes can break seals over time, even if it was “fine” at install.
- Drain and waste issues: a loose waste fitting, failed washer, or hair-clog overflow that sends water outside the intended route.
- Door seals and screen gaps: slow splashing to the same edge, day after day, can soak the floor structure.
The leak often isn’t a single event. It’s a routine. Water finds the same weak point, repeats it, and the building learns the habit.
The “perfect tile” trap
Tiles are excellent at hiding a mess behind them. They make you assume the system behind them is equally perfect: flat, sealed, designed for water.
But tiles are the face. The waterproofing is the job. When that job is missing, patched, or compromised, your bathroom becomes a very convincing stage set: everything looks solid while the back wall softens like wet cardboard.
The early signs people dismiss (and later regret)
Hidden water leaks rarely start with a puddle. They start with small signals that feel easy to explain away: “old house”, “winter damp”, “just needs re-siliconing”. Sometimes that’s true. Sometimes it’s the opening chapter.
Watch for these:
- A persistent damp or sweet-musty smell that returns after cleaning
- Grout that darkens in one area and never fully dries
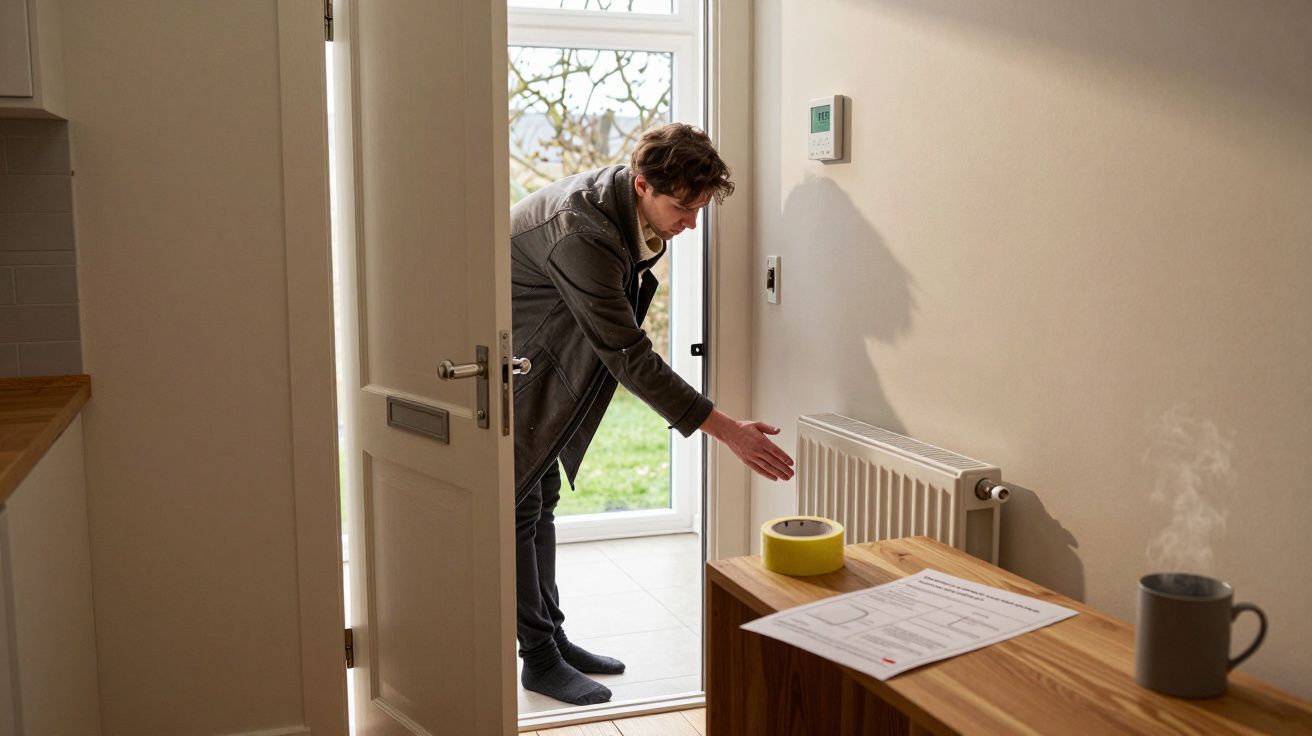
- Bubbling paint or a slightly soft patch on the wall outside the shower
- Loose tiles or tiles that sound hollow when tapped
- A ceiling stain below the bathroom (often the first obvious sign, sadly)
- Mould that keeps coming back in the same line, even with good ventilation
- A shower tray edge that feels spongy underfoot near the perimeter
None of these proves a leak on its own. What matters is repetition: the same spot, the same smell, the same “why is that always damp?”
Why it gets harder - and messier - later
If you catch a shower leak early, you sometimes get away with surface work: re-sealing, re-grouting a small section, tightening a waste fitting, replacing a screen seal. It’s still annoying, but it’s contained.
Leave it, and the leak stops being a bathroom problem and becomes a building problem. Water migrates. Timber swells. Fixings rust. Plasterboard turns to porridge. Adhesives fail. Mould moves into voids where you can’t scrub it with anything, no matter how motivated you feel on a Sunday.
And then the job changes shape:
- You’re no longer fixing a weak seal; you’re removing finishes to find the route.
- You’re no longer patching a ceiling; you’re drying cavities and checking structure.
- You’re no longer paying for a plumber; you’re paying for demolition, skip hire, re-boarding, tiling, decorating.
The real cost isn’t the water. It’s the access.
The “we have to take the tiles off” moment
Every homeowner dreads that sentence because it sounds like an overreaction. Sometimes it is. Often it isn’t.
Finding a hidden leak is like tracking a smell in a cupboard: the source is rarely where the symptom is loudest. Water can travel along studs, behind boards, across floors, and show up politely in the hallway ceiling while the actual entry point is a tiny failure at the shower corner.
By the time staining appears, the materials behind the tiles may already be compromised. At that point, keeping the tiles to “save money” can be the expensive choice, because you can’t properly repair what you can’t reach.
What to do when you suspect a leak (without panic)
You don’t need to rip the bathroom out because you saw one suspicious line of mould. You do need to act like the clock is running, because it is.
A sensible first pass looks like this:
- Stop using the shower for 24–48 hours if you can, and see if the damp smell/staining changes. A true shower leak often improves with non-use.
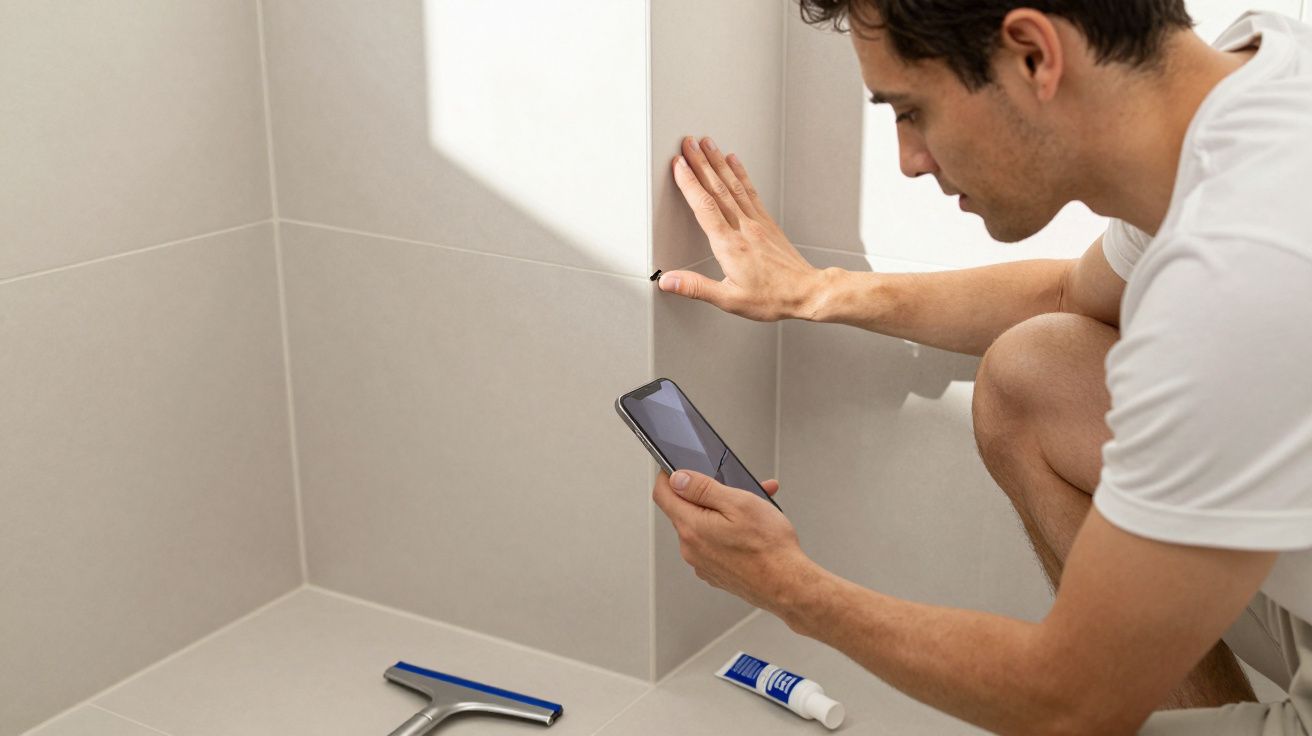
- Check silicone and grout closely, especially corners and the tray edge. Look for splits, lifting, gaps, or blackening that returns fast.
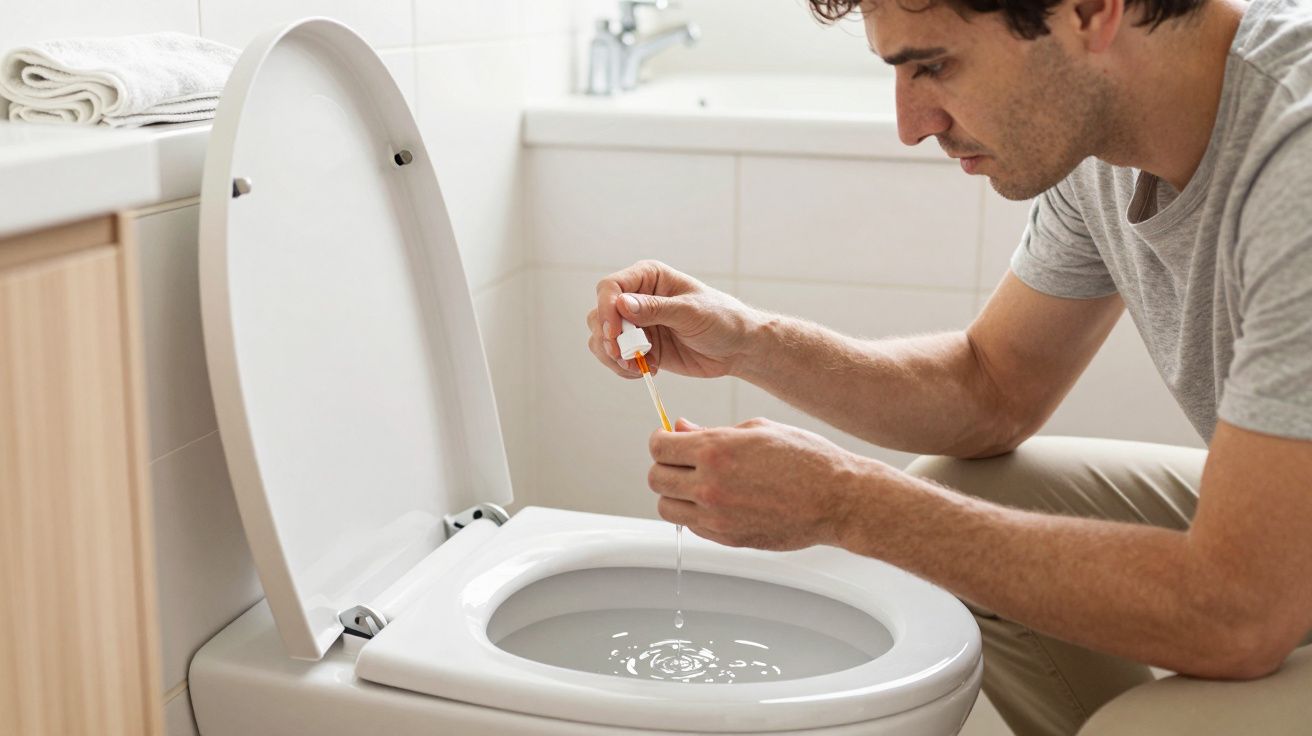
- Inspect around the waste if accessible (panel, cupboard, ceiling below). Look for drips after a shower and after running water directly into the drain.
- Rule out splash patterns: does water escape at the door edge? Does a bathmat stay wet in the same place?
- Get proper diagnosis early: a plumber or leak detection specialist can pressure-test and trace without guesswork.
If you do re-silicone, do it properly: remove all old silicone, dry the area fully, use sanitary-grade silicone, and allow full cure time. Smearing new silicone over old is the DIY equivalent of painting over damp.
The small prevention habits that quietly save you
Most shower disasters aren’t bad luck. They’re neglected maintenance plus time.
A few boring habits make a big difference:
- Re-check and refresh silicone every few years, not every decade.
- Keep grout in good condition, but remember: grout isn’t waterproofing.
- Deal with tray movement early; a flexing tray is a seal-killer.
- Use a squeegee after showering if you’re prone to pooling at edges.
- Treat recurring mould as a clue, not a cleanliness failure.
The goal isn’t perfection. It’s noticing. Water is patient; you have to be a little more attentive than it is.
The quiet truth: bathrooms punish delay
There’s a particular frustration to shower leaks because the bathroom often looks its best while it’s doing its worst work. It stays photogenic right up until the day it doesn’t, and then you’re not choosing between “fix” and “ignore” anymore - you’re choosing between “fix” and “rebuild”.
The earlier you act, the more likely you’re solving a seal. The later you act, the more likely you’re renovating a consequence.


Comments (0)
No comments yet. Be the first to comment!
Leave a Comment