
You finish the last coat of grout, the silicone looks crisp, and the room smells faintly of new plaster. Bathroom plumbing installation is meant to be the boring part you never think about again, yet a surprising number of post‑renovation leaks come down to installation errors that sit quietly behind the tiles until the first busy week of showers. The frustrating bit is how “small” these mistakes look on day one, and how expensive they become once water has a head start.
I’ve seen the pattern play out: the leak isn’t dramatic at first. It’s a dark patch on the ceiling below, a musty whiff in the vanity, or a bath panel that feels oddly damp when you press it. By the time you’re sure it’s real, water has already been doing what it does-finding edges, soaking boards, and following pipes like a map.
Why leaks show up after the bathroom looks finished
Renovations create a perfect storm: new fittings, altered pipe routes, fresh surfaces that hide everything, and a rush to get the room signed off and usable. A joint can be “fine” at installation pressure, then fail after a few heat cycles, a bit of movement, or the first proper blockage.
Another reason is access. Once the bath is boxed in and the shower is tiled, even a simple weep turns into a detective story. The leak hasn’t become more complex; it’s just become harder to see.
“Most bathroom leaks aren’t mysteries. They’re missed details made invisible by good-looking finishes,” a fitter once told me. It’s blunt, but it’s usually right.
The installation details specialists obsess over (for good reason)
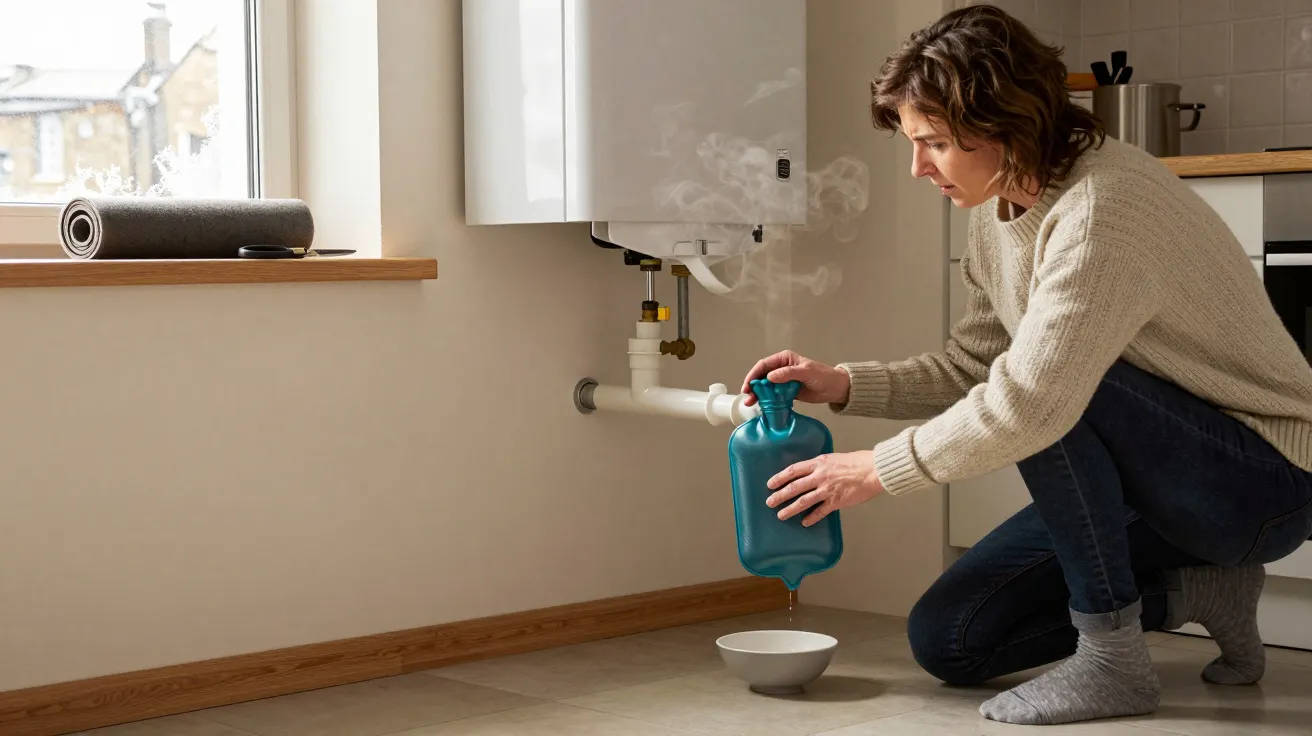
1) Compression joints that were never meant to be buried
Compression fittings can work brilliantly-when you can get back to them. Buried behind tiles or inside a boxed-in wall, they’re a gamble because they rely on mechanical pressure staying consistent over time. Tiny shifts, thermal expansion, or a slightly mis-seated olive can turn into a slow, persistent weep.
If a joint must be concealed, pros usually favour soldered copper, press-fit systems rated for concealment, or appropriately installed push-fit within manufacturer guidelines, plus an access panel where sensible. The point isn’t brand loyalty; it’s future proofing.
2) Poor pipe support and “movement leaks”
A pipe that isn’t clipped properly can flex every time someone turns a tap or a pump kicks in. That movement transfers stress to joints and threaded connections, especially around shower valves, wall elbows, and rigid shower arms.
It’s common after renovations because pipe runs get re-routed to suit the new layout, then left hanging in the void. The bathroom looks solid; the plumbing behaves like it’s on a trampoline.
3) Threaded connections done like “tight is tight”
Threaded tails on taps, shower hoses, and wall outlets often fail because of one of two habits: overtightening (which cracks or distorts) or undertightening (which never seals). Add the wrong sealing method-PTFE wrapped the wrong direction, too little, too much, or used where a fibre washer should be doing the work-and you get drips that come and go.
A classic example is a basin tap that only leaks when someone leans on the mixer. The fitting isn’t loose enough to wobble, but it’s loose enough to let water track down the shank and into the cabinet.
4) Traps and wastes that weren’t aligned, cleaned, or tested
Bath and basin wastes hate being forced into position. If the waste is slightly off, installers sometimes “pull it in” with the nut, which can distort seals and leave a hairline path for water. Bits of grout, tile adhesive, or plastic swarf in the sealing face also stop washers bedding properly.
The leak often appears as occasional dampness rather than a steady drip-usually after a full bath, a quick plunge of the plug, or a child overfilling the basin.
5) Shower waterproofing confused with “nice silicone”
Silicone is a finish, not a waterproofing system. The real defence is what’s behind the tile: tanking membranes, correct boards (not standard plasterboard in wet zones), sealed penetrations, and careful detailing at corners and niches.
When this is missed, water doesn’t pour through; it migrates. You’ll see swollen skirting, cracked grout lines that keep returning, or mould that reappears no matter how much you clean.
6) Drain falls that look right but behave wrong
A shower tray waste or wet room channel needs the right fall in the pipework, not just a tidy appearance. Too flat and water sits; too steep in the wrong place and you get noisy flow and trap siphon issues. Either can lead to leaks indirectly-standing water finds weak seals, and repeated minor blockages encourage people to over-plunge or use harsh chemicals that degrade washers.
7) “It held on the day” because nobody pressure-tested properly
A proper test isn’t a quick turn-on and glance. It’s time under pressure, checks at every joint, and ideally a second look after the system has warmed and cooled. Many post-renovation leaks are simply first-time failures that would have shown up with a longer test window.
A useful mental model: if the room was rushed to finish, the testing was rushed too.
A quick, practical check you can do without ripping anything out
You don’t need specialist kit to spot the early signs; you need patience and a dry tissue.
- Run each outlet one at a time (hot, then cold) for a few minutes. Check inside vanity units and around isolation valves with tissue.
- Fill and drain the bath and basin while watching the waste and trap. Look for a delayed drip after the rush of water stops.
- Plug the basin, half-fill, then release. Surges reveal marginal seals.
- Seal-check the shower: run it for 5–10 minutes, then look outside the enclosure and at the ceiling below (if there is one) a few hours later.
- Listen for creaks or knocks when taps close; it can hint at movement and poor clipping.
If anything is boxed in, an access panel can be the difference between a 20‑minute fix and a week of dust.
The recurring causes, made simple - and what they usually lead to
| Missed detail | Typical symptom | Common location |
|---|---|---|
| Concealed unsuitable joints | Slow ceiling stain or musty smell | Behind shower walls, boxed-in baths |
| Mis-seated waste/trap seal | Intermittent damp in cabinet | Basin vanity, bath waste |
| Waterproofing shortcuts | Grout cracks, recurring mould | Shower corners, niches, wet rooms |
What good installers do differently (even when no one will see it)
They plan pipe routes with maintenance in mind, and they assume movement will happen. They use the right materials in wet zones, follow manufacturer instructions on fittings rather than “how we’ve always done it”, and they test like they expect a leak-because if one exists, it’s cheaper to find it before the tiles go on.
Most importantly, they don’t treat the bathroom as a set of objects. They treat it as a system: water in, water out, and everything in between needing to stay dry.
FAQ:
- Can a leak appear weeks after a renovation even if everything looked fine at first? Yes. Heat cycles, building settlement, and minor pipe movement can turn a marginal seal into a visible leak after days or weeks of normal use.
- Is silicone enough to stop shower leaks? No. Silicone is a surface seal; proper tanking and correct backing boards are what prevent water reaching the structure.
- What’s the most common “hidden” error in bathroom plumbing installation? Concealing joints that shouldn’t be concealed, or failing to provide access to serviceable connections.
- How can I tell if it’s a plumbing leak or a waterproofing problem? Plumbing leaks often correlate with specific use (tap on, bath draining). Waterproofing failures tend to show as gradual damp, mould, or persistent grout/silicone breakdown around the shower area.
- Do I need to stop using the bathroom if I suspect a slow leak? Reduce use and avoid long showers or full baths until it’s checked. Slow leaks can still cause significant damage to floors, ceilings, and cabinetry.


Comments (0)
No comments yet. Be the first to comment!
Leave a Comment