You don’t notice it until you do: the skirting boards feel slightly soft, the cupboard smells “musty”, and the boiler pressure keeps dipping for no obvious reason. In most homes, isolation valves are the quiet gatekeepers that let you stop water to a tap, toilet, washing machine or whole zone - the difference between a quick fix and a long, expensive soak. They’re also your closest thing to an emergency shut-off when a hose bursts at 2am, yet they’re rarely tested when everything seems fine.
And that’s the trap. A valve can look perfectly normal from the outside while slowly failing on the inside, turning a small leak into months of hidden damage.
Why this is the valve nobody tests
Most of us only touch valves when we’re forced to: a new dishwasher, a dripping loo fill valve, a plumber asking, “Can you turn the water off?” The rest of the time, they sit in darkness under a sink or behind a toilet, collecting dust and limescale like it’s their job.
The issue is simple: if an isolation valve hasn’t moved in years, it can seize. When you finally need it, it might not close fully, or worse - it starts weeping from the spindle the moment you turn it. You think you’ve isolated the problem, but water keeps creeping through at a slow, confident pace.
There’s also a psychological piece. Turning valves feels like “plumbing”, and plumbing feels like a job you shouldn’t poke unless you have to. So the emergency tool becomes a last resort, not a maintained safety feature.
What failure looks like (when there are no obvious signs)
A dramatic burst pipe is easy to spot. The slow stuff is what costs you.
A tired isolation valve can cause:
- A constant, tiny feed to an appliance even when “off”, keeping a leak alive
- A slow drip from the packing nut/spindle after you operate it
- A damp patch that comes and goes as pressure changes in the system
- A mystery drop in boiler pressure on sealed heating systems (when the filling loop valves aren’t shutting properly)
- Warped cabinet bases, swollen MDF, or mould that keeps returning despite “cleaning”
Sometimes the valve isn’t leaking at all - it just won’t shut, so you end up doing DIY with live water. That’s when people panic, overtighten, and create the very leak they were trying to prevent.
The two places UK homes get caught out
Under the kitchen sink is the obvious one, but the repeat offenders are more specific.
1) Toilet supply valves (especially older quarter-turns)
They’re close to the floor, exposed to cleaning sprays and condensation, and often untouched for years. When they fail, the leak can track under vinyl or lino and show up far from the loo itself.
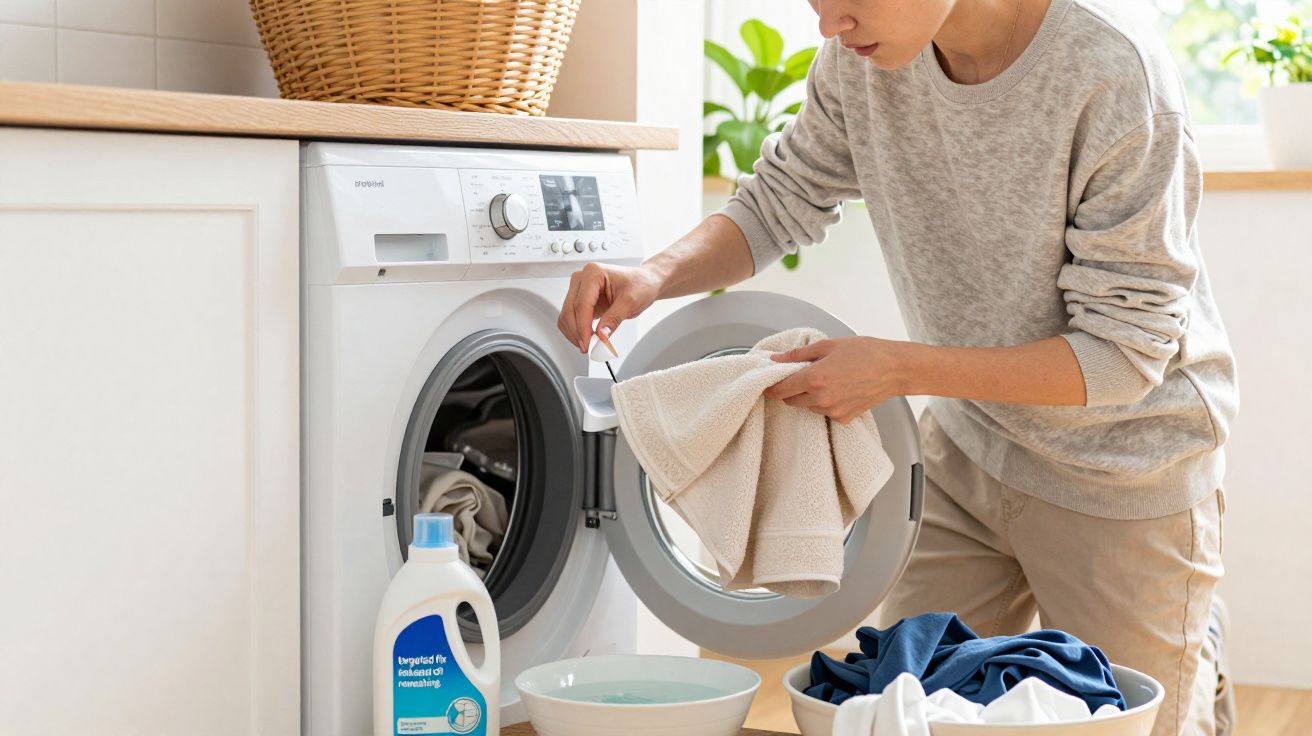
2) Washing machine and dishwasher valves
These get turned during installs, then forgotten. A stiff valve plus a perished hose washer is a classic combination: you move one thing and the other decides it’s time.
If you’re in a hard-water area, add limescale and you get the perfect conditions for a valve that “sort of” works - until you need it to actually isolate.
How to test isolation valves without creating a disaster
You’re not stress-testing the plumbing. You’re checking that your shut-off still behaves like a shut-off.
Do this when you can watch it for a few minutes afterwards - not on your way out the door.
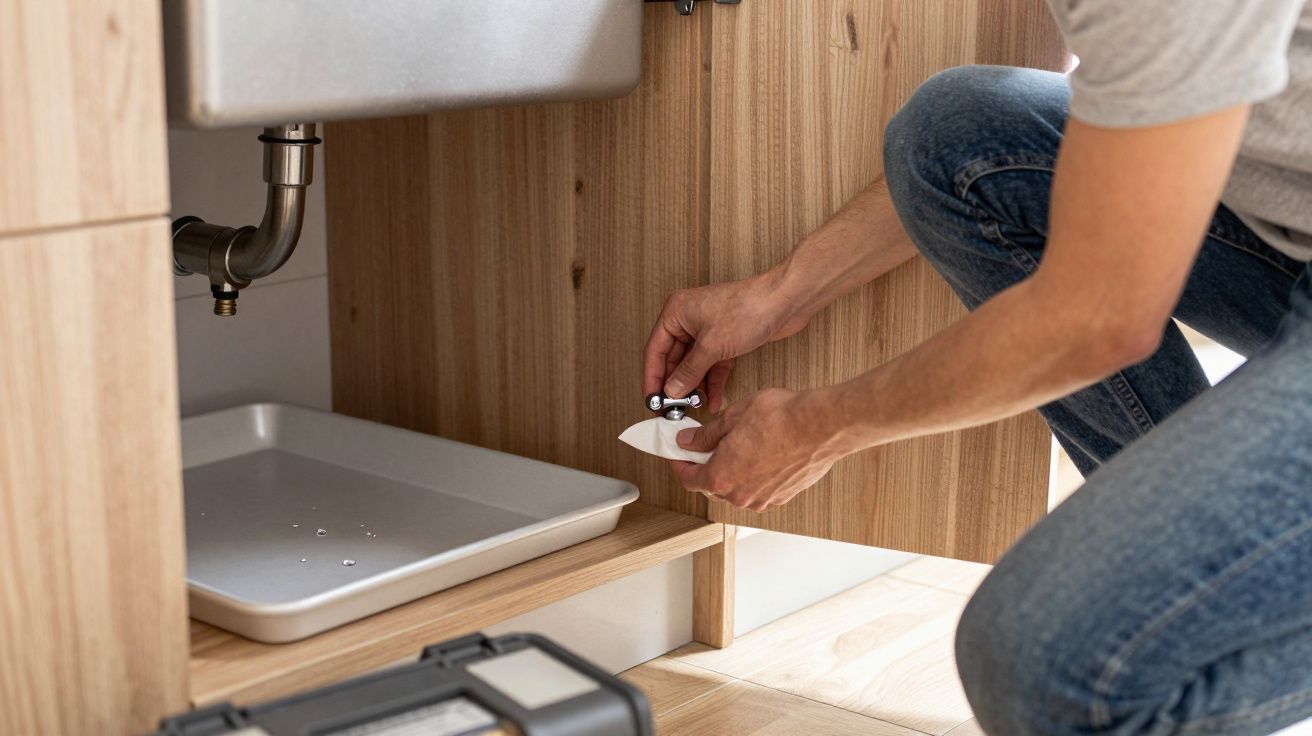
- Find the valve(s) you might rely on: under sinks, behind toilets, to appliances, and any heating filling loop valves by the boiler.
- Turn gently to off (clockwise for most screw/stopcock styles; quarter-turn valves go 90 degrees). If it’s extremely stiff, don’t force it.
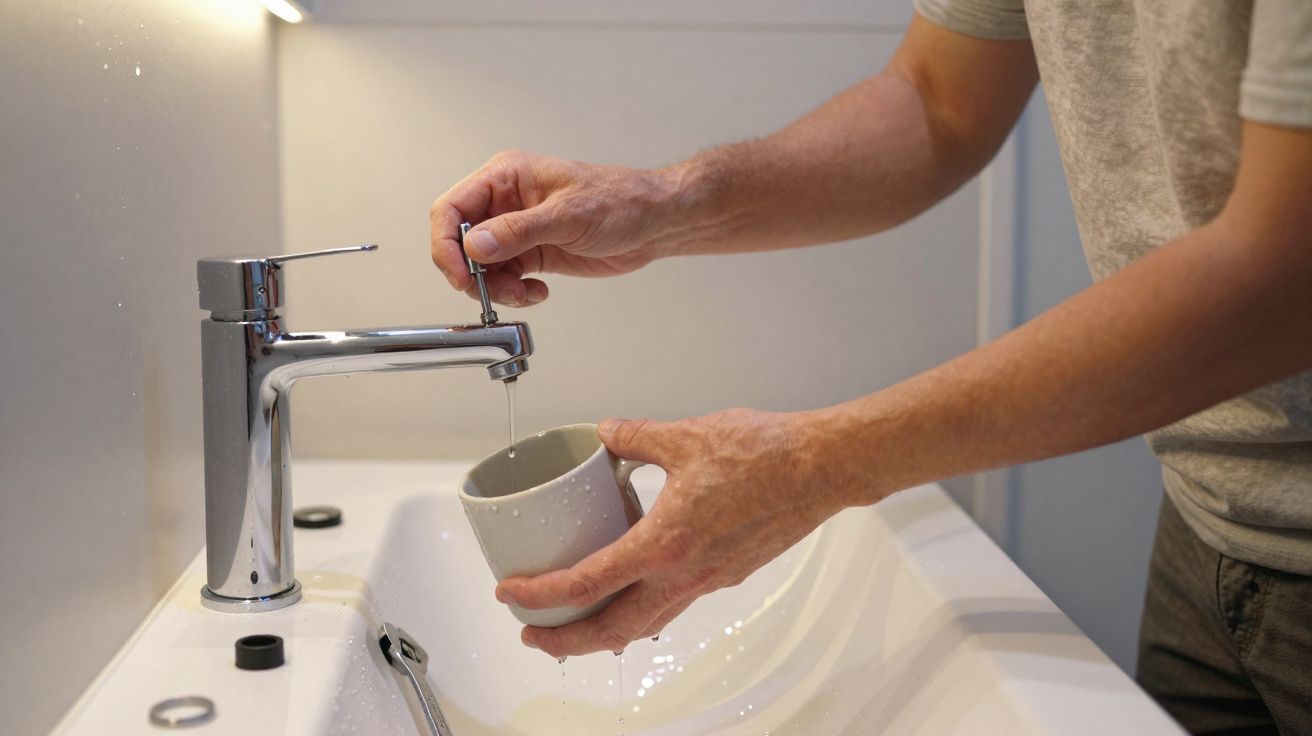
- Check the fixture: does the tap stop? does the cistern stop refilling? does the appliance supply actually cut?
- Watch the valve body for moisture around the spindle/packing nut and compression joints. Use dry tissue to spot a fresh weep.
- Turn it back on slowly, then check again after 5–10 minutes.
Let’s be honest: nobody does this monthly. But doing it once or twice a year is the difference between “I can isolate this in seconds” and “I can’t stop the water and now I’m googling stopcocks in a panic.”
When a valve should be replaced, not “nursed”
Some valves can be re-packed or tightened. Many shouldn’t be touched beyond basic testing, especially if they’re old, corroded, or poorly fitted.
Replace (or ask a plumber to replace) if:
- The valve won’t fully shut off, even when you’re sure you’re turning it correctly
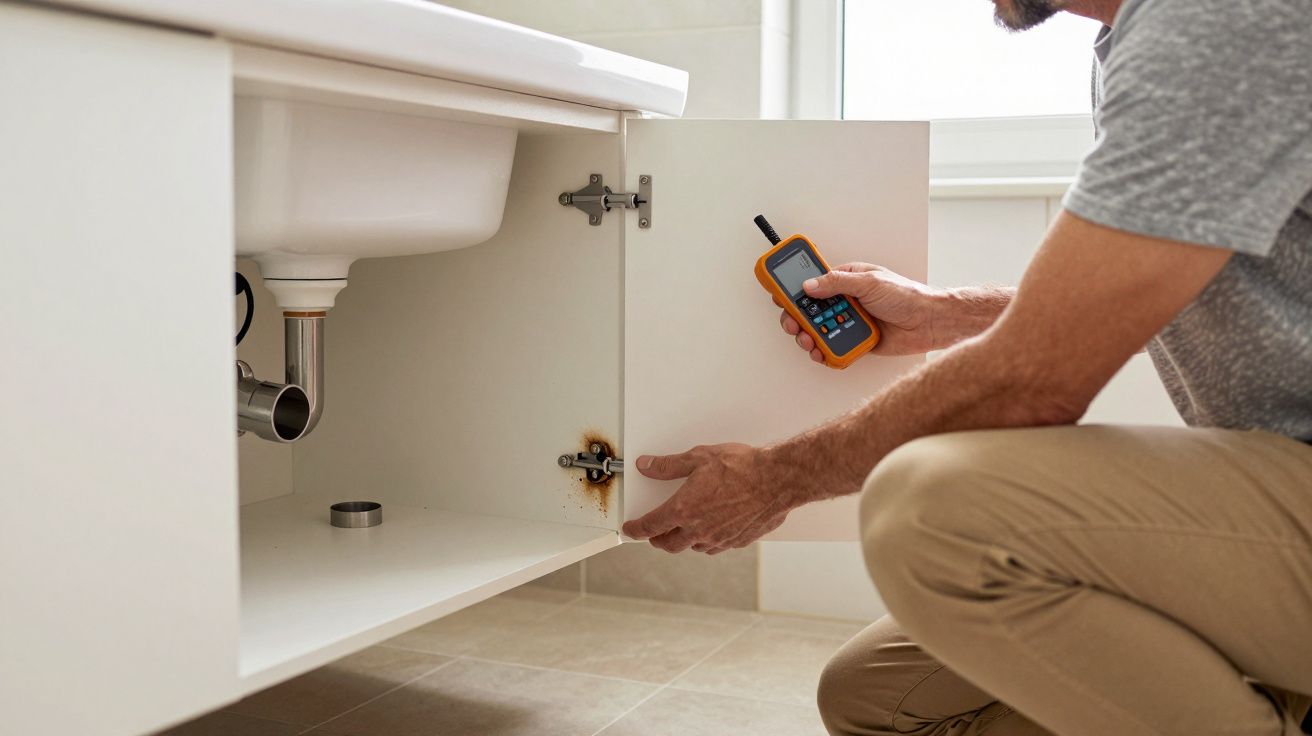
- You see green/white crusting, rust, or staining at the joints
- The spindle weeps after you operate it
- The head is chewed up and can’t be reliably turned
- It serves something you can’t afford to lose control of (mains feed, key appliances, filling loop)
A good plumber will often suggest upgrading to decent-quality quarter-turn valves and fitting them in accessible positions. That last part matters: a perfect valve behind a fixed panel is functionally useless during an emergency shut-off.
The one shut-off people forget: the heating filling loop
If your boiler is on a sealed system, the filling loop is the bridge between mains cold water and your heating circuit. It usually has one or two valves, sometimes with a braided hose.
If those valves don’t close properly, the system can slowly over-pressurise, dump water via the pressure relief, and you end up topping up again and again - a quiet cycle that looks like “boiler being temperamental” but is often just poor isolation.
A simple habit helps: after topping up, double-check both valves are fully closed, and keep an eye on pressure over the next day. If it creeps up on its own, treat that as a warning, not a quirk.
A small routine that saves big mess later
You don’t need a spreadsheet. You need a tiny system.
- Pick two dates a year (clocks change is an easy one).
- Test the isolation valves you can reach without tools.
- Note any that are stiff, weeping, or pointless because they don’t shut.
- If you’ve got tenants or family members, show them where the main stopcock is too - the real emergency shut-off when things go bad fast.
One plumber put it to me like this:
“The first time you turn a valve in five years shouldn’t be while you’re standing in water.”
That’s the whole story. The valves aren’t glamorous, but they decide whether a leak becomes a towel job or a flooring job.
| Check | What to look for | What to do next |
|---|---|---|
| Valve shuts fully | Fixture stops and stays stopped | Label it, keep it accessible |
| Valve won’t shut | Water still flows or slowly creeps through | Plan replacement; don’t rely on it |
| Valve weeps after turning | Damp spindle/joint, fresh droplets | Replace or have it serviced; monitor nearby damp |
FAQ:
- Do I need to turn isolation valves off and on regularly? Not constantly, but operating them once or twice a year helps prevent seizing and shows you which ones can’t be trusted in an emergency shut-off.
- What if an isolation valve is too stiff to turn? Don’t force it. A stuck valve can snap or start leaking. Treat it as a replacement job and use the main stopcock if you need to isolate urgently.
- If a valve leaks only after I turn it, did I cause the problem? You didn’t invent the weakness - you revealed it. Old packing and seals often fail when first disturbed after years.
- Which valves matter most to check first? The ones you’d need in a hurry: under-sink supplies, toilet feeds, washing machine/dishwasher valves, and any boiler filling loop valves.
- Can I rely on the main stopcock instead of individual isolation valves? The main stopcock is vital, but local isolation valves let you fix one fixture without shutting the whole house down - and they’re often the fastest way to stop a small leak turning into a flood.


Comments (0)
No comments yet. Be the first to comment!
Leave a Comment