Cold snaps, heatwaves and long empty spells have turned older properties into a stress test for plumbing. Pipe protection is no longer just “wrap it and hope” - it’s about spotting where conditions have changed and how the house now behaves. A small shift in airflow, insulation or heating pattern can move the coldest point and put one overlooked run at risk.
Most pipe failures in older homes aren’t caused by exotic faults. They come from ordinary water, ordinary frost, and one section of pipe that sits in the wrong place when the weather (or the way you live in the house) changes.
Why older homes get caught out when conditions shift
Older properties were often built to breathe. Draughty floor voids, leaky sash windows and open chimneys used to spread heat and moisture in a rough, forgiving way. When you add loft insulation, block fireplaces, fit new doors or change the heating schedule, you can accidentally create a colder pocket - and that’s where pipes suffer.
Pipe protection works best when you treat the house like a system: heat, air, water and timing. Change one, and the weak point can move.
Typical “condition changes” that matter:
- You insulate one area (loft, walls) but leave a cold void (underfloor, porch, garage) untouched.
- You switch to intermittent heating, or lower night-time temperatures.
- A room becomes unheated storage, or a loft gets boarded out and ventilated differently.
- You stop using a chimney or air brick, altering airflow paths that used to warm a corner.
Find the vulnerable runs - not just the obvious ones
Lagging every visible pipe helps, but the losses usually happen where you can’t see. Start by mapping the route from the stopcock to the boiler and on to the most exposed outlets. In older homes, pipework can take surprising detours.
Focus your checks on:
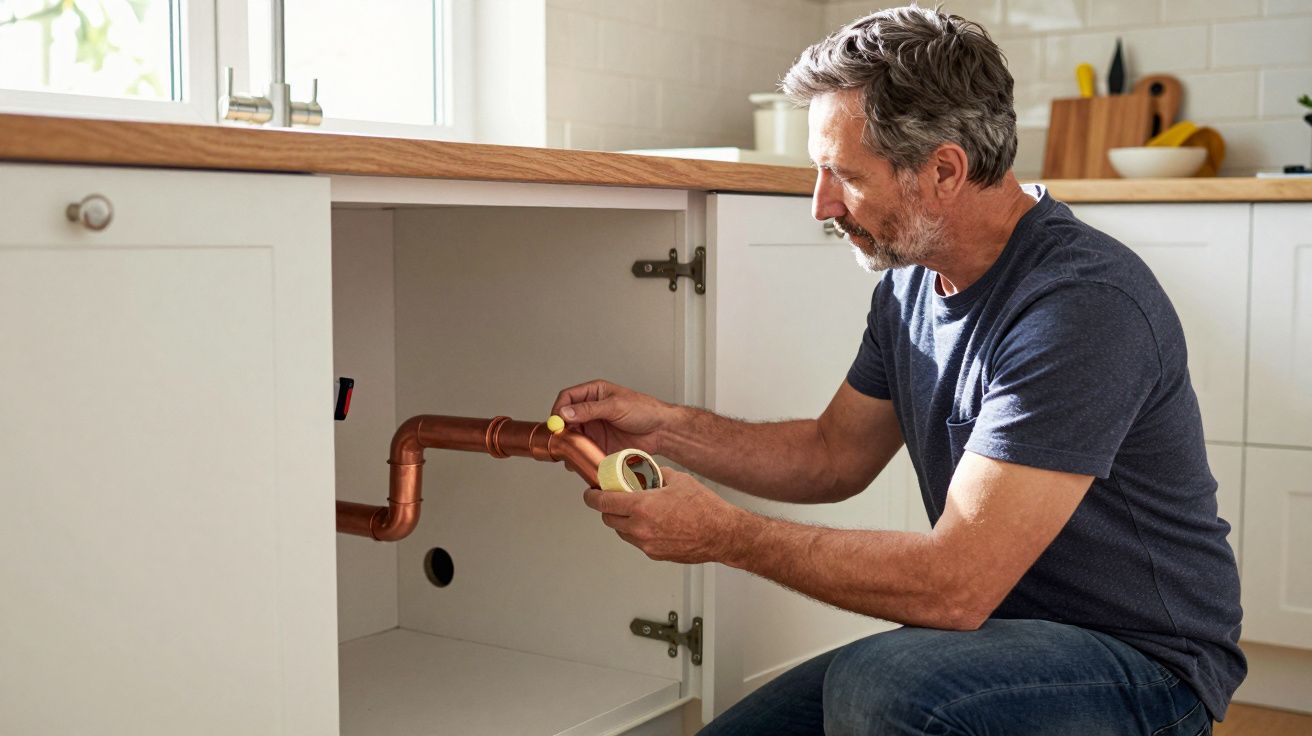
- External walls: especially pipes boxed in behind kitchen units.
- Lofts and eaves: where insulation might sit under the pipes, leaving them in the cold.
- Floor voids: suspended timber floors with draughts and missing insulation.
- Garages and lean-tos: conversions and add-ons often have marginal heating.
- Near vents: air bricks, extractor ducts, letterboxes, old gaps around services.
A practical test on a cold day: run the heating as normal, then use your hand to feel skirting boards, boxing and cupboard backs. The coldest surfaces often point to the coldest pipe runs behind them.
A quick “risk score” you can do in 10 minutes
- Pipe sits against an external wall: +2
- Pipe is in a loft/garage/porch: +2
- Pipe is in a draughty void: +2
- You only heat the home part-time: +1
- You’ve recently improved insulation/airtightness: +1
Anything scoring 4+ deserves attention before winter.
Insulation that actually works (and the common mistakes)
Lagging is basic, but in older properties the details decide whether it helps or backfires. The aim is to slow heat loss and avoid creating a cold spot by putting the pipe on the wrong side of the thermal layer.
What to do:
- Use proper closed-cell foam tube insulation on all accessible runs, with joints taped.
- Insulate both hot and cold pipes in unheated areas: hot pipes lose heat; cold pipes freeze.
- In lofts, keep pipes on the warm side where possible: ideally below the insulation line, not above it.
- In voids, pair pipe insulation with draught reduction (sealed gaps, controlled ventilation rather than random gusts).
What to avoid:
- Leaving gaps at elbows, tees and valves (these freeze first).
- Compressing insulation under boards or clips until it no longer insulates.
- Boxing pipes tight against an external wall without insulating the wall side.
- Assuming “more loft insulation” protects pipes when the pipework is now sitting in colder air.
When airflow changes: draughts, vents and sealed-up “improvements”
Older homes often have strong air movement under floors and through cupboards. That airflow can be the difference between a pipe hovering at 2°C or dropping below zero.
If you’ve recently sealed the house up, be careful with blunt fixes. Blocking every air brick can protect pipes in one corner and create damp (or rot) in another. The better approach is targeted:
- Seal obvious gaps where wind hits pipework directly (around service penetrations, broken air vents into cupboards).
- Maintain purposeful ventilation for timber floors and moisture control, but stop “wind tunnels” aimed at plumbing.
- Add a small, insulated access panel rather than leaving a cupboard back open to a freezing void.
If you’re unsure, think in zones: protect the pipes with insulation and local air sealing, while preserving the ventilation the building fabric needs.
Heat, not heroics: keeping temperatures safe when you’re not there
Condition changes often come from how the house is used. If the home is now empty midweek, or you travel more, “it’ll be fine” becomes a gamble.
Simple, effective measures:
- Set the boiler’s frost protection and verify it actually runs the pump and fires the boiler.
- Use a low background temperature (often 12–14°C) during cold spells, rather than off/on extremes.
- Keep internal doors slightly open to share heat with colder rooms that contain pipework.
- Open sink cabinet doors on very cold nights if pipes run at the back.
Freezing is usually a time problem: cold plus still air plus hours. Break any one of those, and the risk drops sharply.
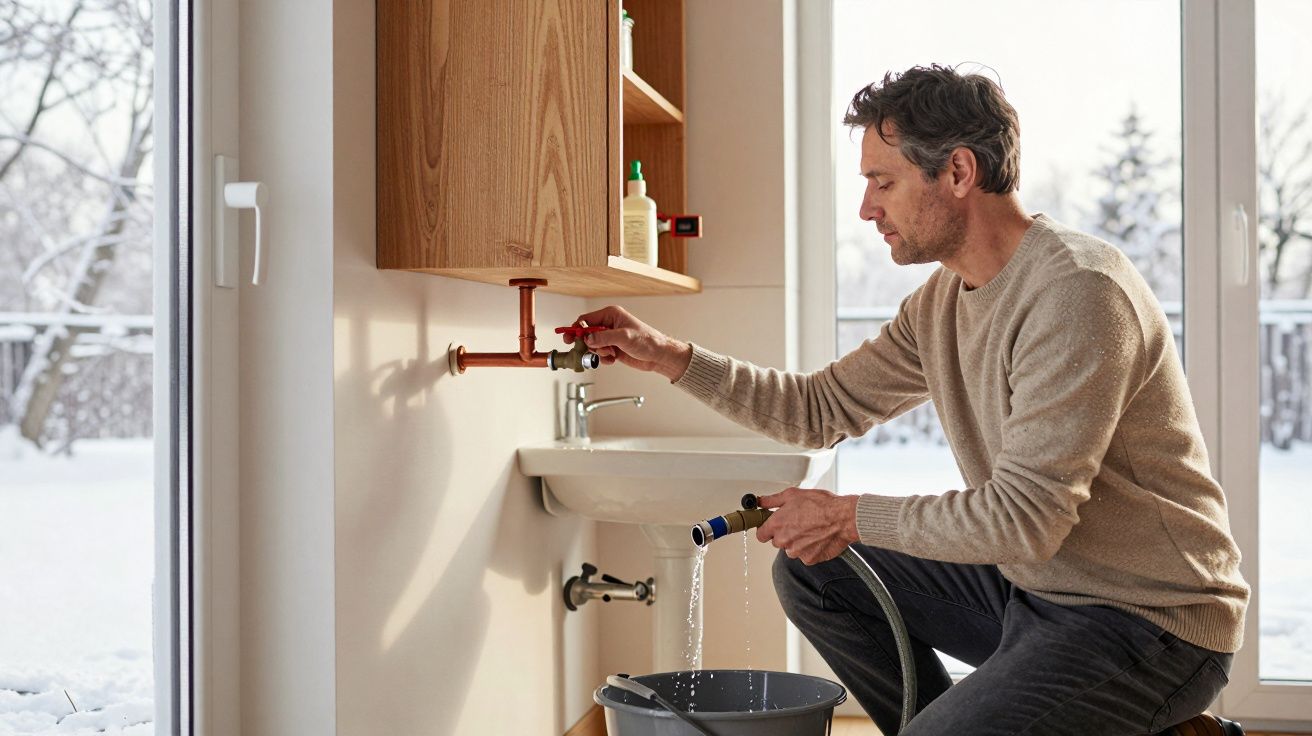
If you have to shut water off
In an older property left empty, turning off the supply can help - but only if you drain down properly. Water trapped in a low point can still freeze and split a pipe.
A sensible sequence:
- Turn off at the stopcock.
- Open cold taps (lowest first), then flush toilets to empty cisterns where possible.
- Open hot taps; if you have a vented cylinder, check guidance before draining.
- Leave taps open slightly to relieve pressure.
- If there’s any doubt, ask a plumber to show you the safest drain-down points for your system.
The hidden weak points: materials, joints and “that one old valve”
Older properties often have mixed materials: copper, old iron, plastic repairs, push-fit joins in awkward spots. Temperature swings make everything expand and contract, and older fittings don’t always enjoy the movement.
Pay attention to:
- Gate valves that haven’t been turned in years (they can seize or leak after use).
- Push-fit connectors in unheated voids (fine when warm, stressed when cold).
- Lead supply sections (still present in some homes), which are best addressed with professional replacement.
- Outside taps: fit an isolating valve inside and drain the external section in winter.
If you’re already upgrading, consider rerouting a vulnerable run rather than over-insulating a bad location. Moving a pipe from an external wall into a warm cupboard can be the most reliable “insulation” you’ll ever buy.
A compact plan for pipe protection before the next cold snap
- Walk the house and identify the cold zones: loft edges, porches, underfloor voids, kitchen unit backs.
- Lag accessible pipes and tape joints; prioritise elbows and valves.
- Reduce direct draughts onto pipes without removing necessary ventilation for the building.
- Set heating controls for steady protection during absences.
- Test stopcocks and isolation valves now, not during an emergency.
Older properties cope brilliantly when they’re understood on their own terms. Protect the pipes by following the heat and the air, and you’ll stop the house from surprising you when the weather - or your routine - changes.


Comments (0)
No comments yet. Be the first to comment!
Leave a Comment